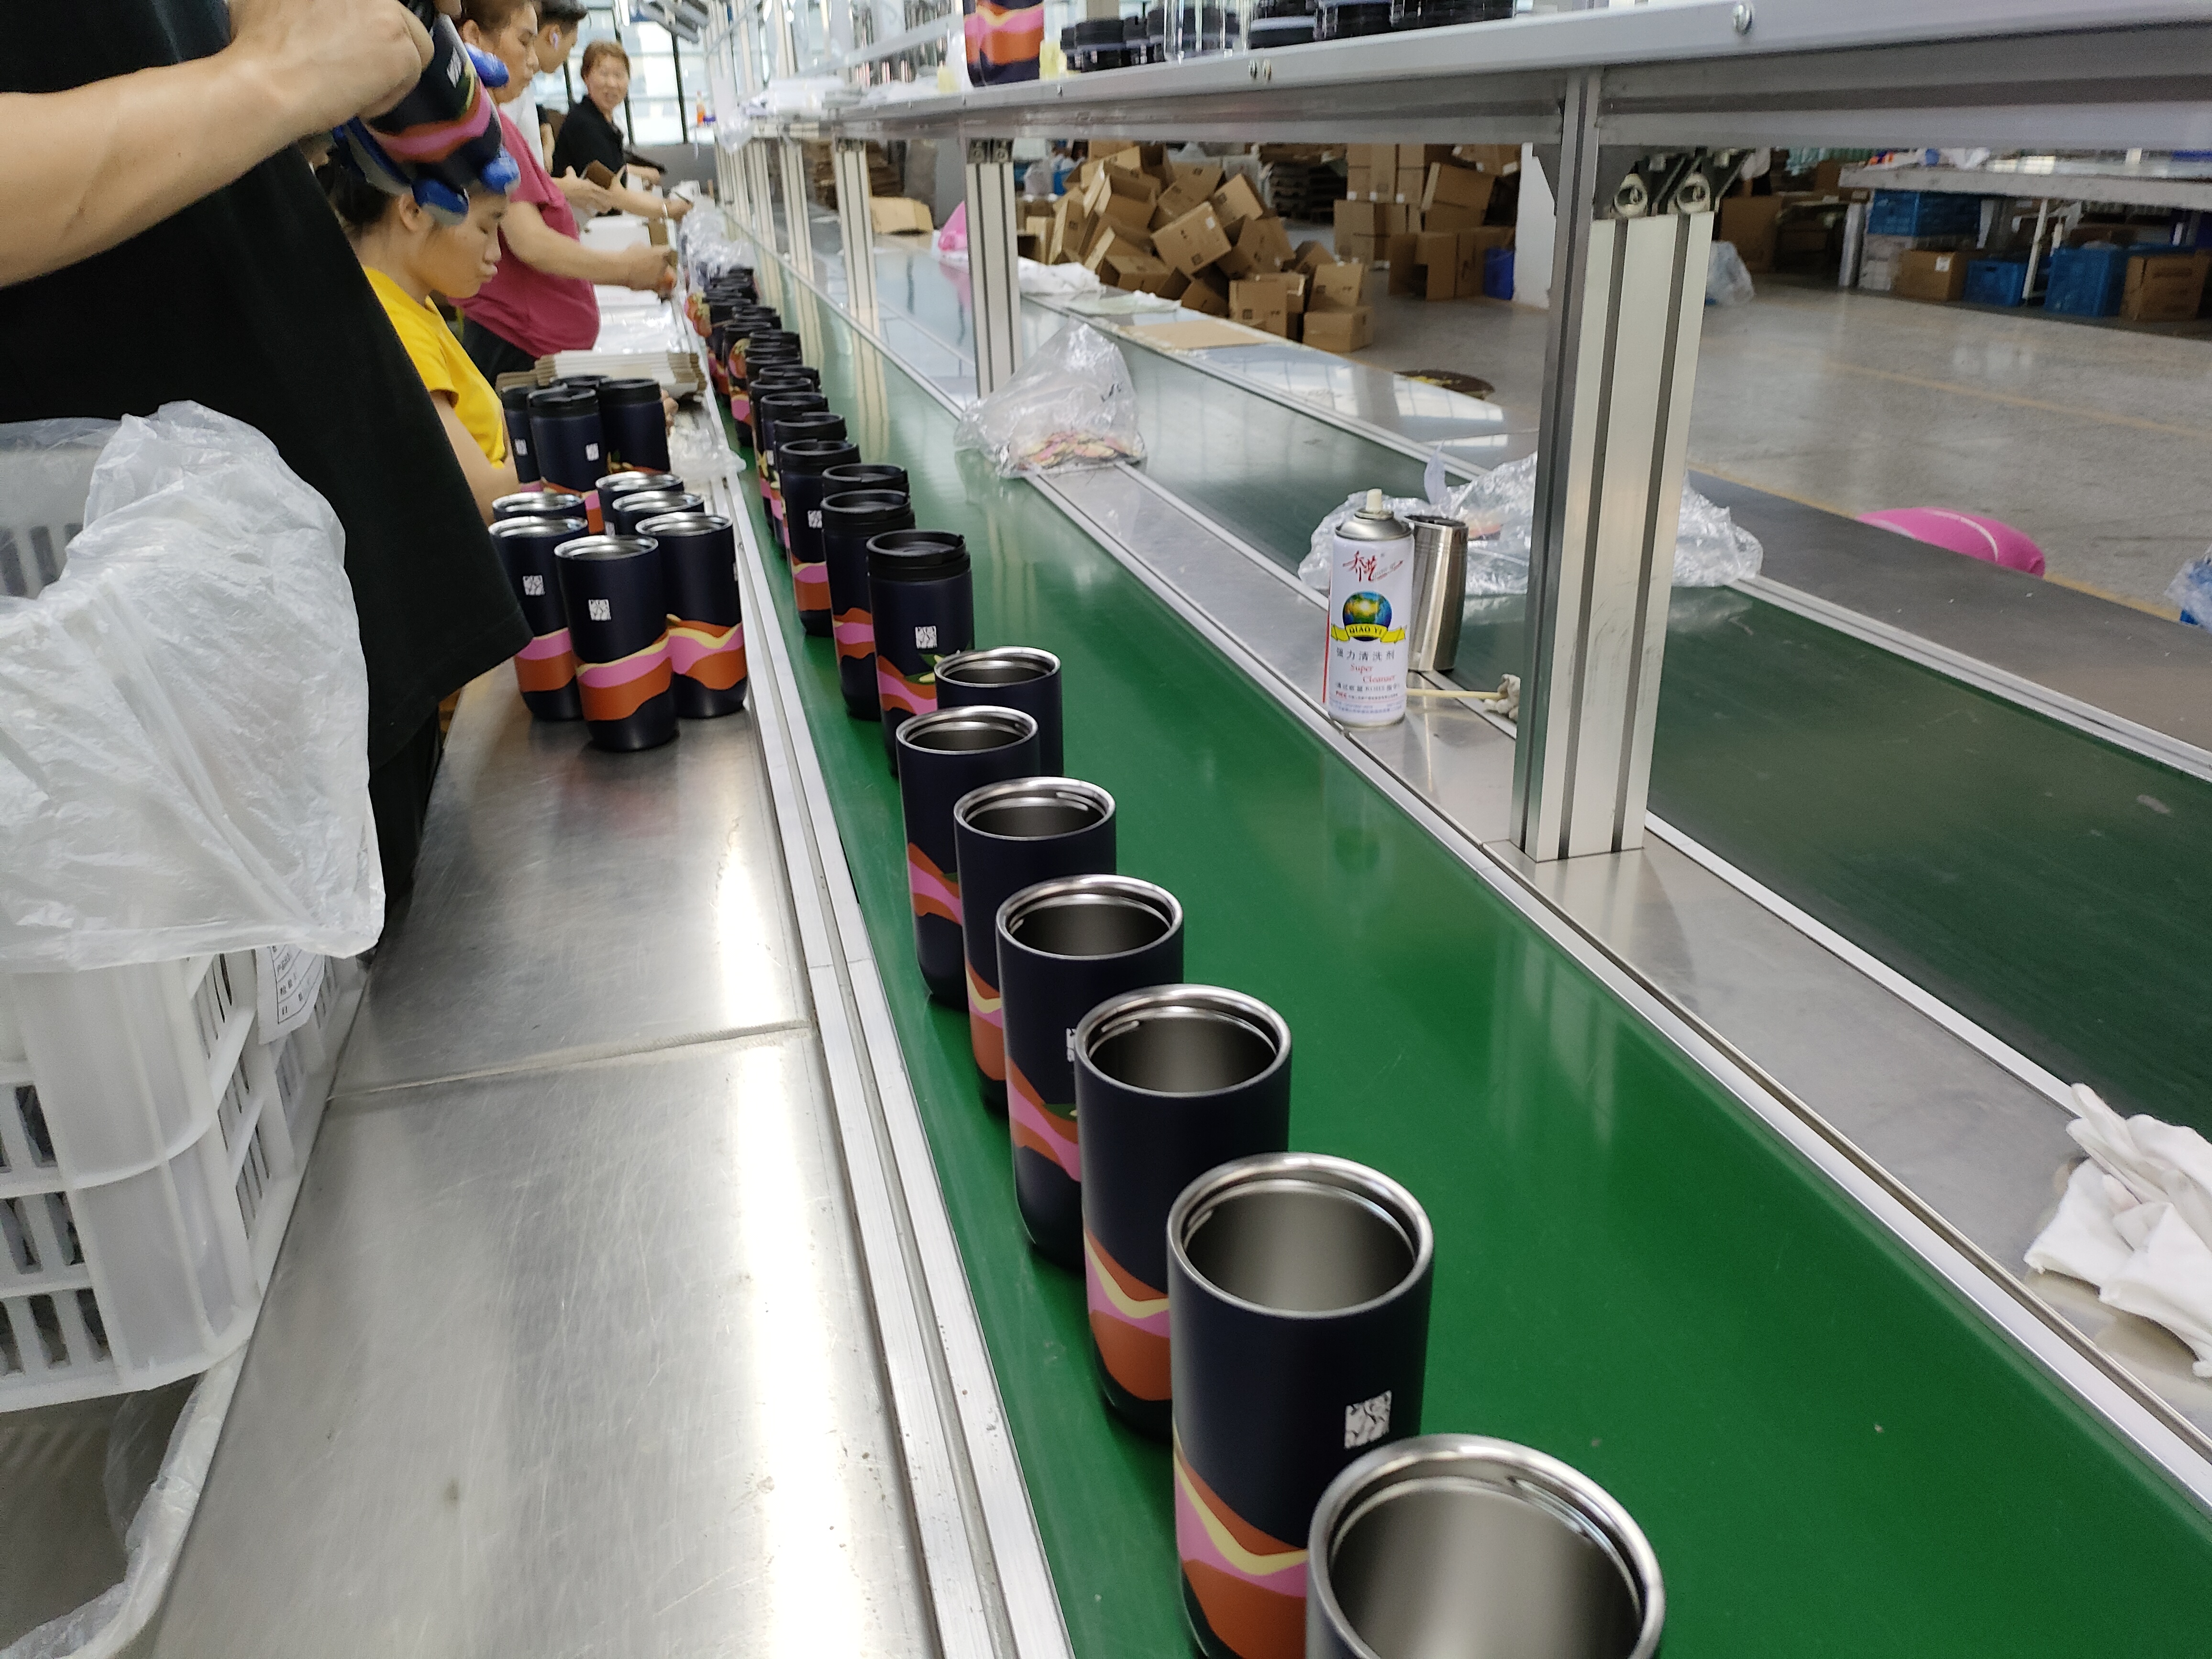
How Metal Water Bottle Is Manufactured?
2023-08-05 17:38
Manufacturing processes for metal water bottles can vary depending on the specific design and materials used.
However, I can provide you with a general overview of the typical manufacturing steps involved in producing metal water bottles:
Brief Description:
Stainless Steel Pipe –> Produce outer bottle, inner bottle, outer bottle bottom, inner bottle bottom –> Assembly & Welding –> Vacuuming –> Decorating –> Testing –> Packing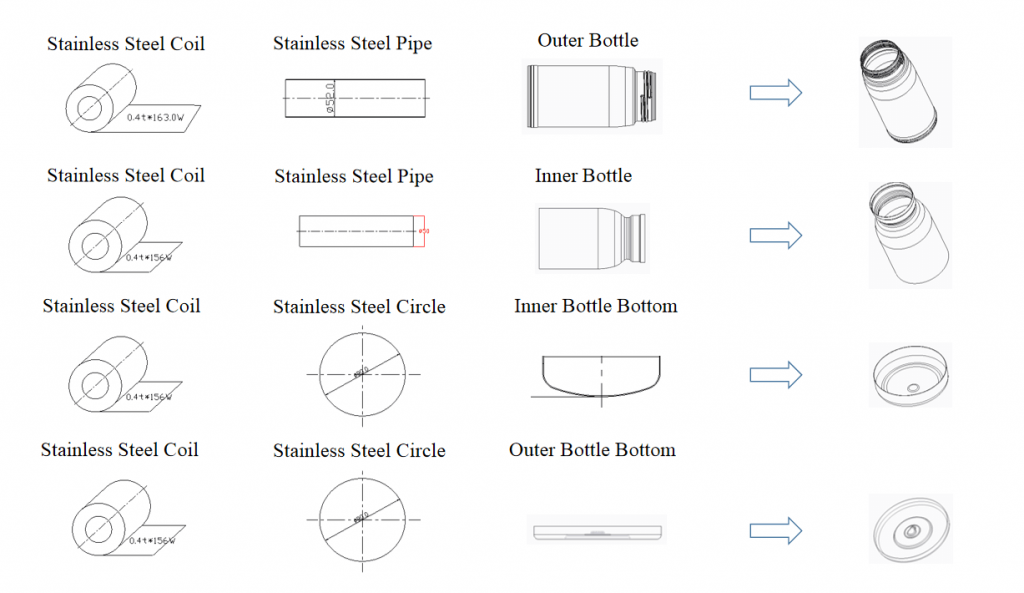
Detailed Instruction:
1. Manufacturing Outer stainless steel water Bottle & Inner Stainless Steel Water Bottle
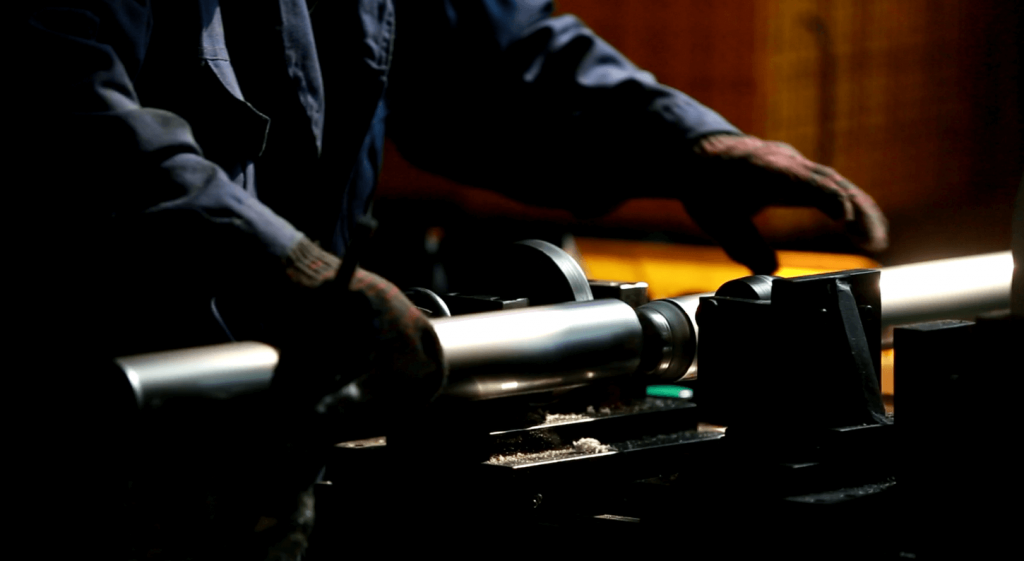
①Pipe Cutting: Cut raw material – stainless steel tube – to the appropriate length.
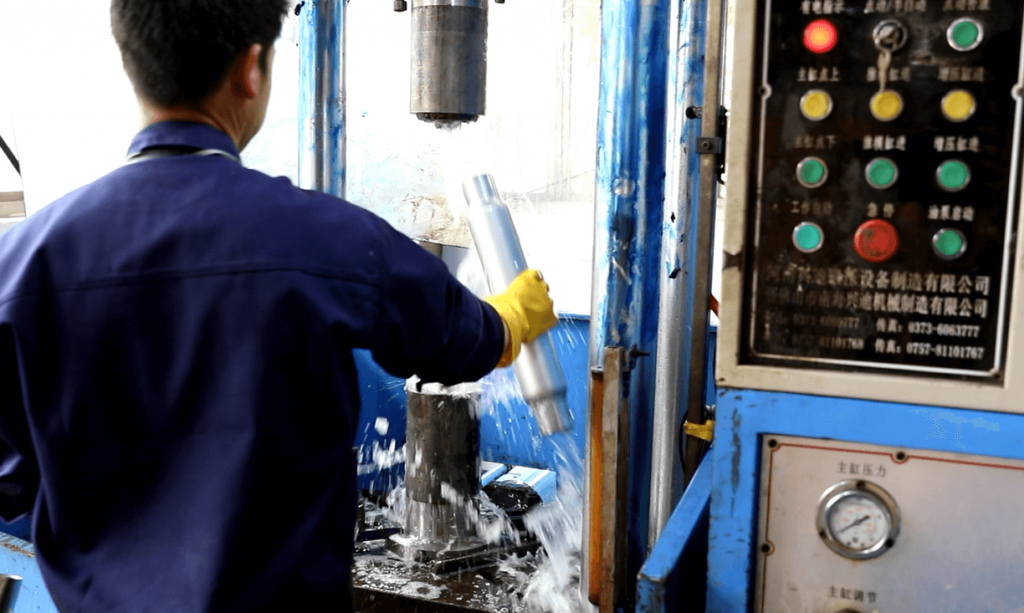
②Water Expansion: Stainless steel pipe is the raw material of this method. First, place the stainless steel tube on the water expander.
The pipe expands into a bottle under enormous pressure. In this way, the resulting bottle has no bottom, so a round stainless steel plate is welded to it to form a complete bottle.
③Separating: Cuts off the two shells after water expansion with the instrument cart.
If the outer bottle is formed by the water expansion process, a separation process must be carried out to separate the stainless steel tube into two parts.
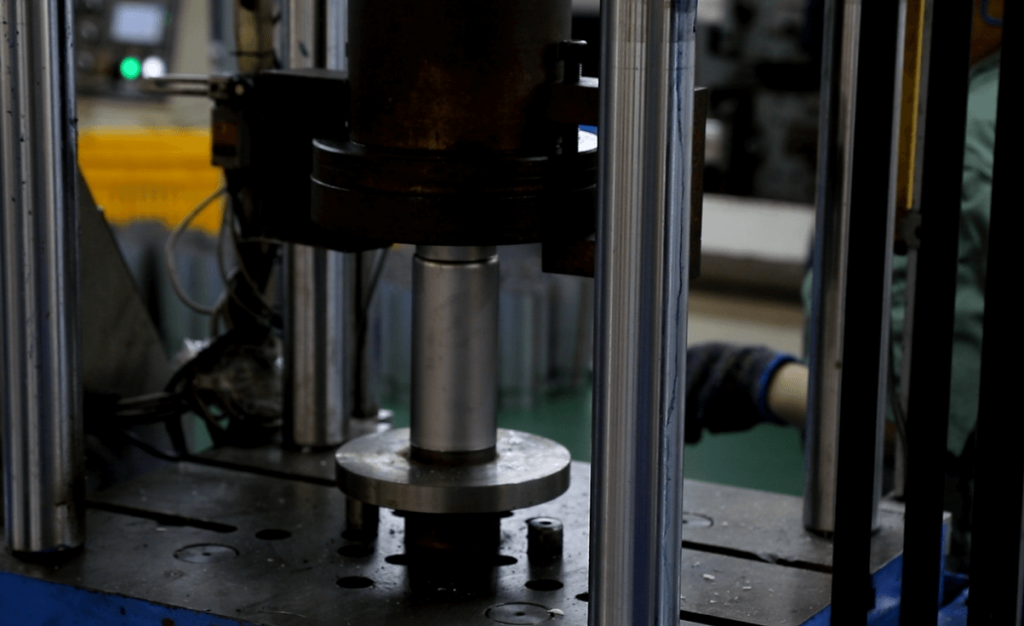
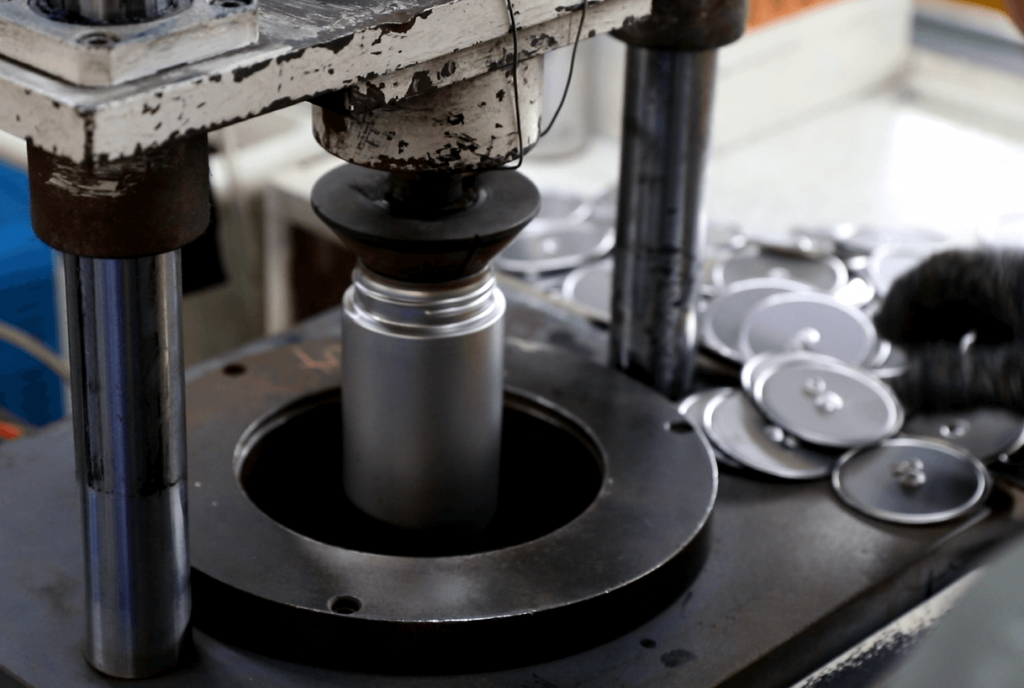
④Positioning & Shaping: Uses a large press, you can get the outer bottle you want, and ensure that the size of the product meets the requirements of the process drawings,
and there should be no obvious defects such as wire drawing or cracking in the mouth.
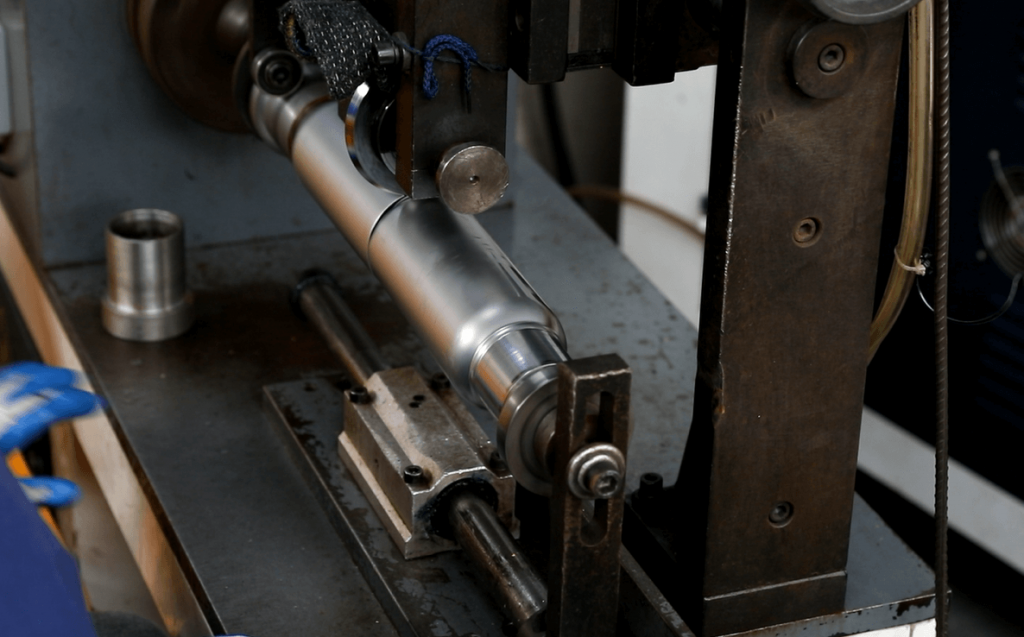
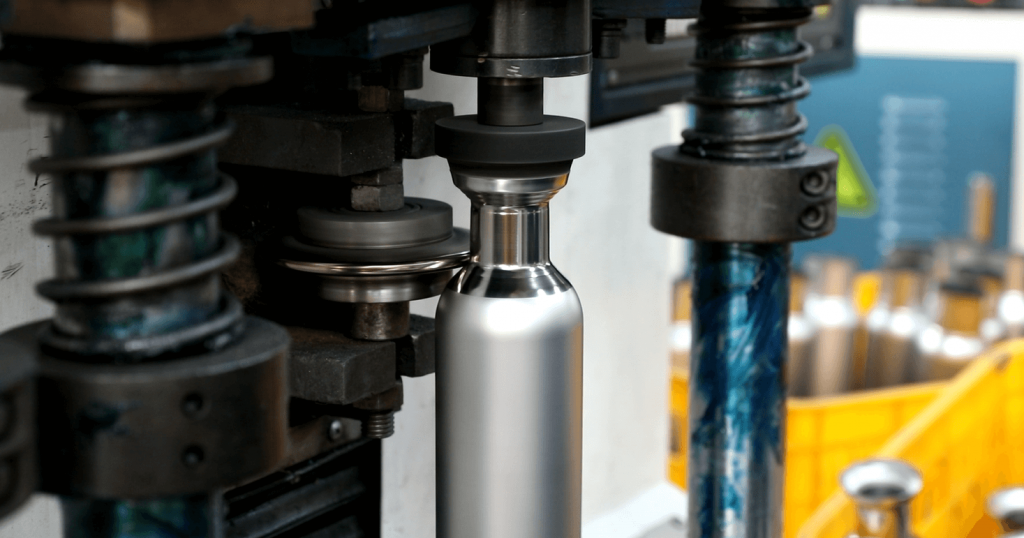
⑤Necking: Uses a machine to squeeze the upside of the bottle to be a bottleneck.
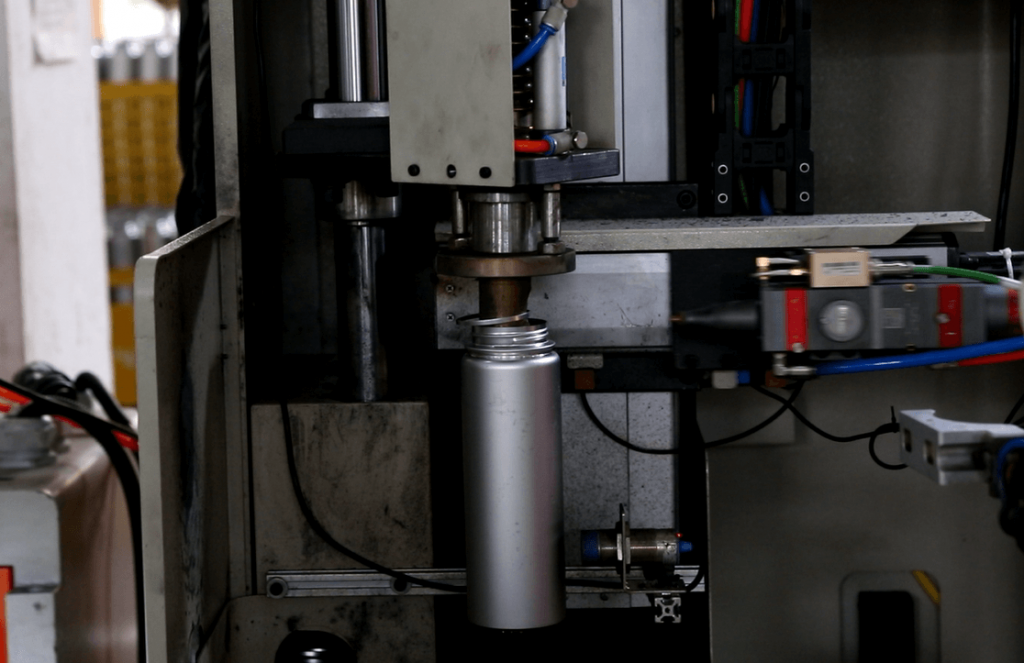
⑥Thread Rolling: Threads are made with a special threading machine. Adjust the thread depth to meet the size requirements.
⑦Flat Mouth & Bottom: Cuts the excess part of the mouth and bottom.
Make the cutting surface of the bottle mouth and bottle bottom smooth without obvious burrs, and roll out the bottle mouth thread.
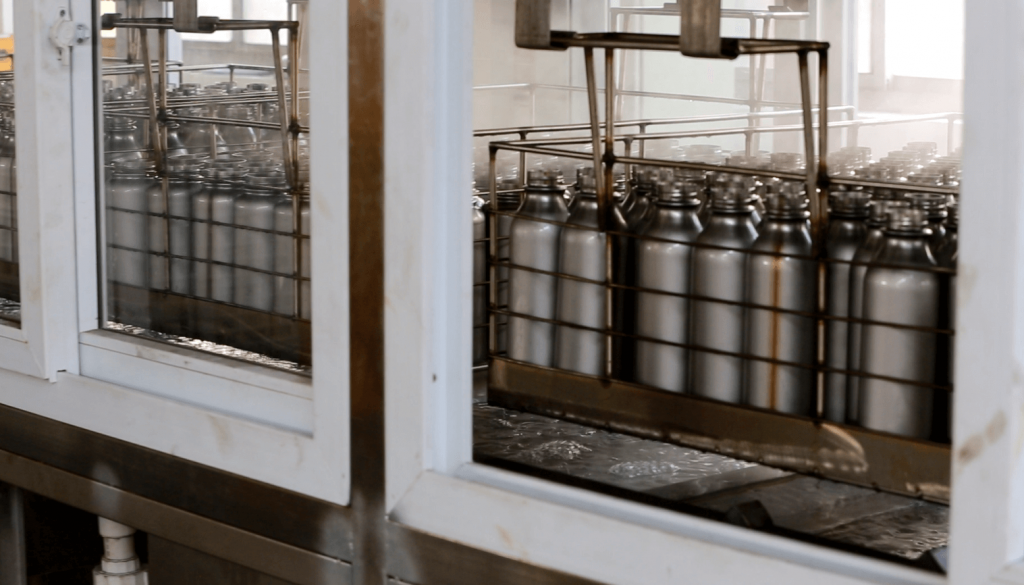
⑧Ultrasonic Cleaning: Removes lube and dust to ensure clean, oil-free, dry-free watermarks.
2. Assembly (Bottle Mouth Matching)
①Assemble the inner bottle and the outer bottle together by pressing the machine.
②Assemble the round bottom to the bottle by pressing the machine.
③Weld the outer bottle and the bottle bottom to prepare for vacuum insulation.
3. Water Leakage Test
Check whether the welding of the inner and outer bottles is in good condition, and eliminate the unqualified products.
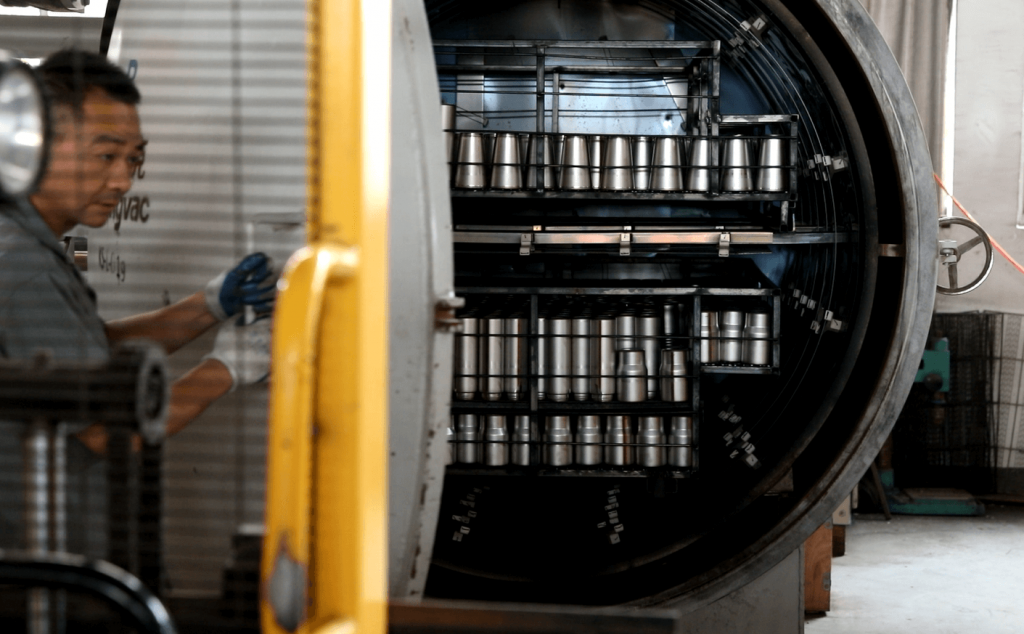
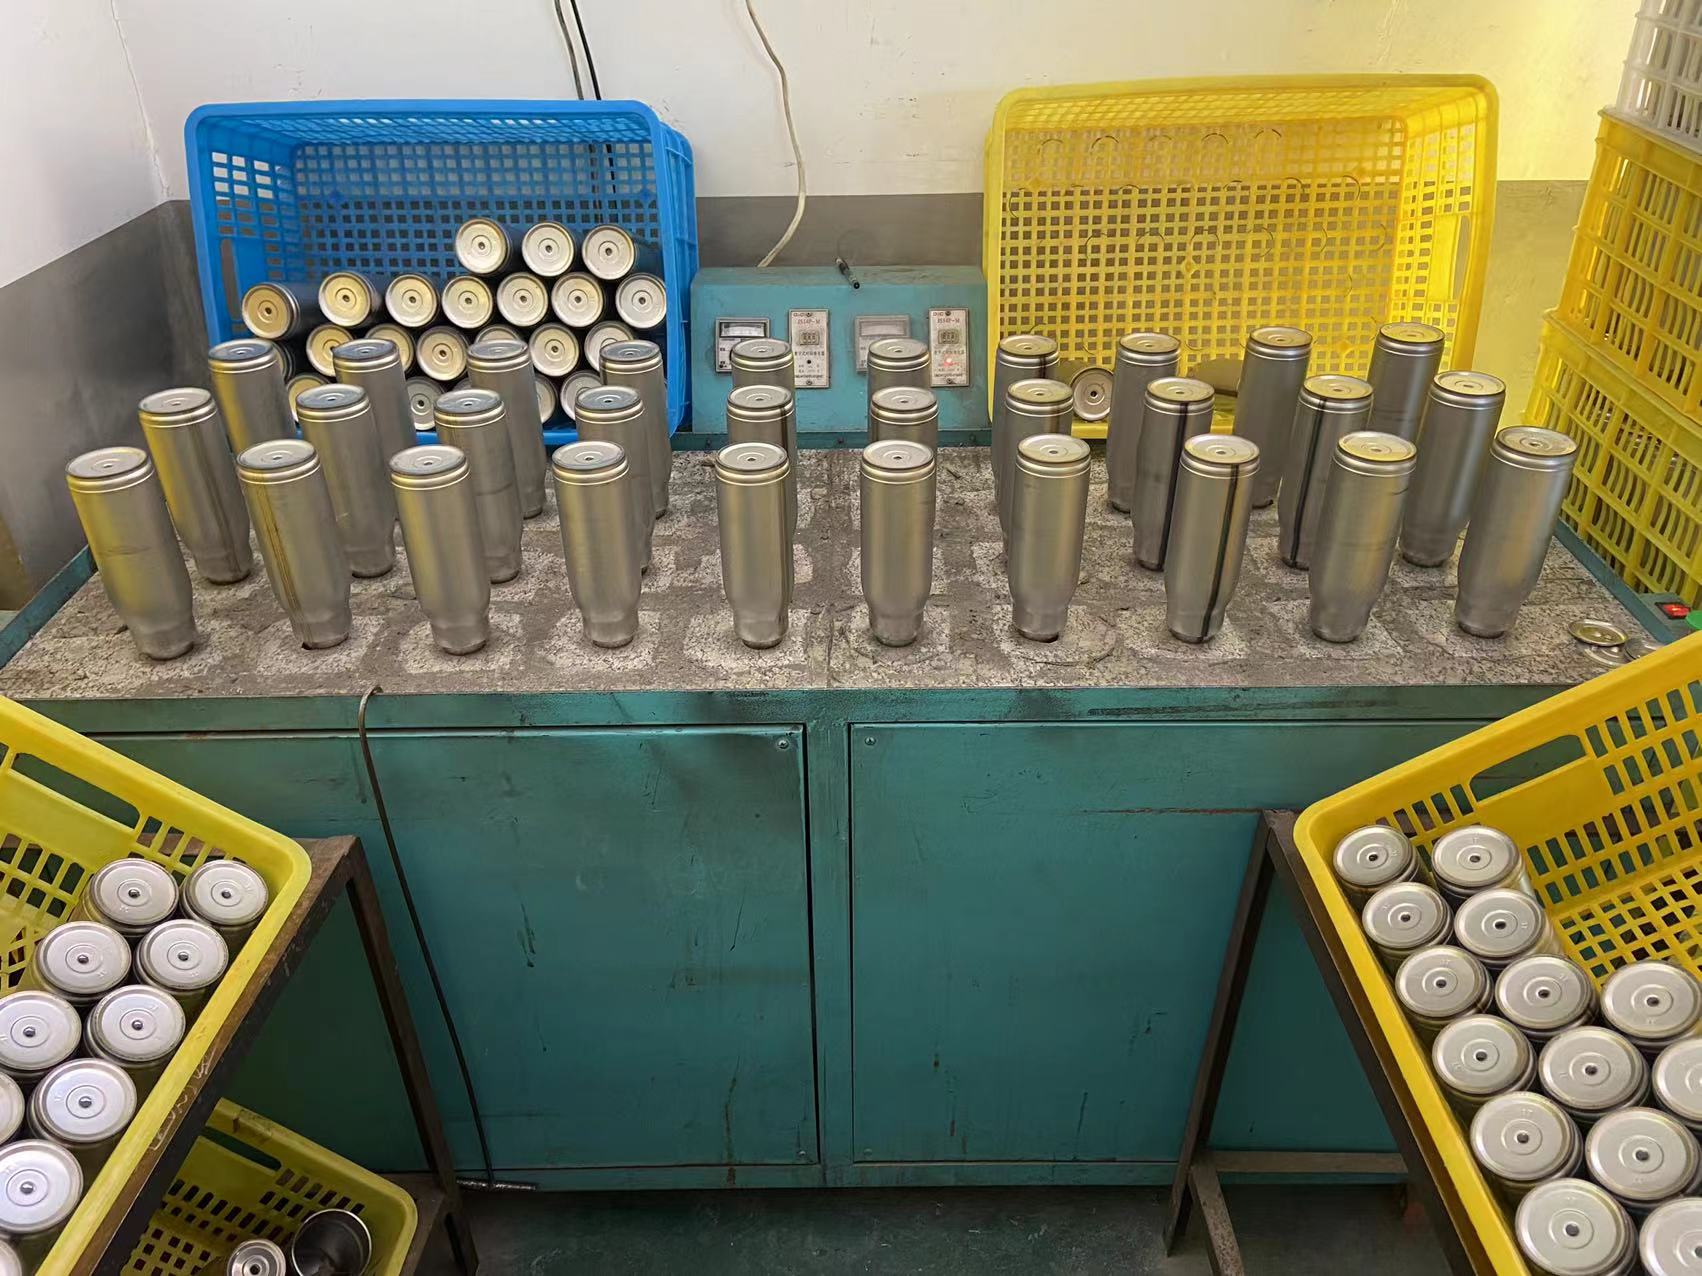
4. Vacuuming
Using the tailless vacuum technology of the machine, the vacuuming standard shall be strictly followed.
A vacuum is formed between the inner tank and the outer bottle, thereby preventing heat transfer, providing insulation, and preventing hot hands.
5. Quality Tests (Incl. Submission To 3rd Party Test):
Our factory had testing capabilities and performed leakage, thermal insulation, torque, and unit drop tests in the house lab, also arranged product compliance tests (FDA, LFGB, EC1935-24) according to customer needs.
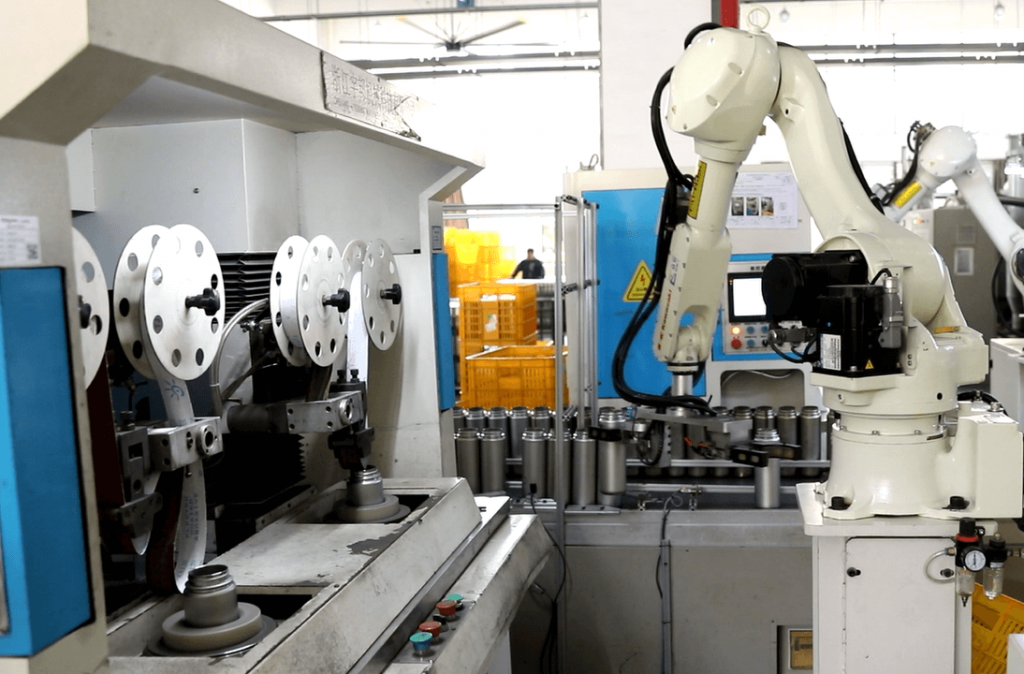
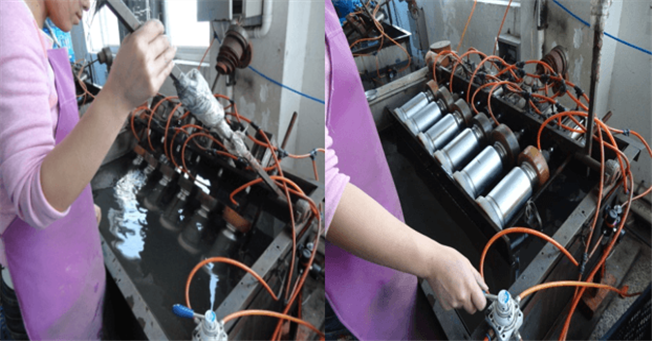
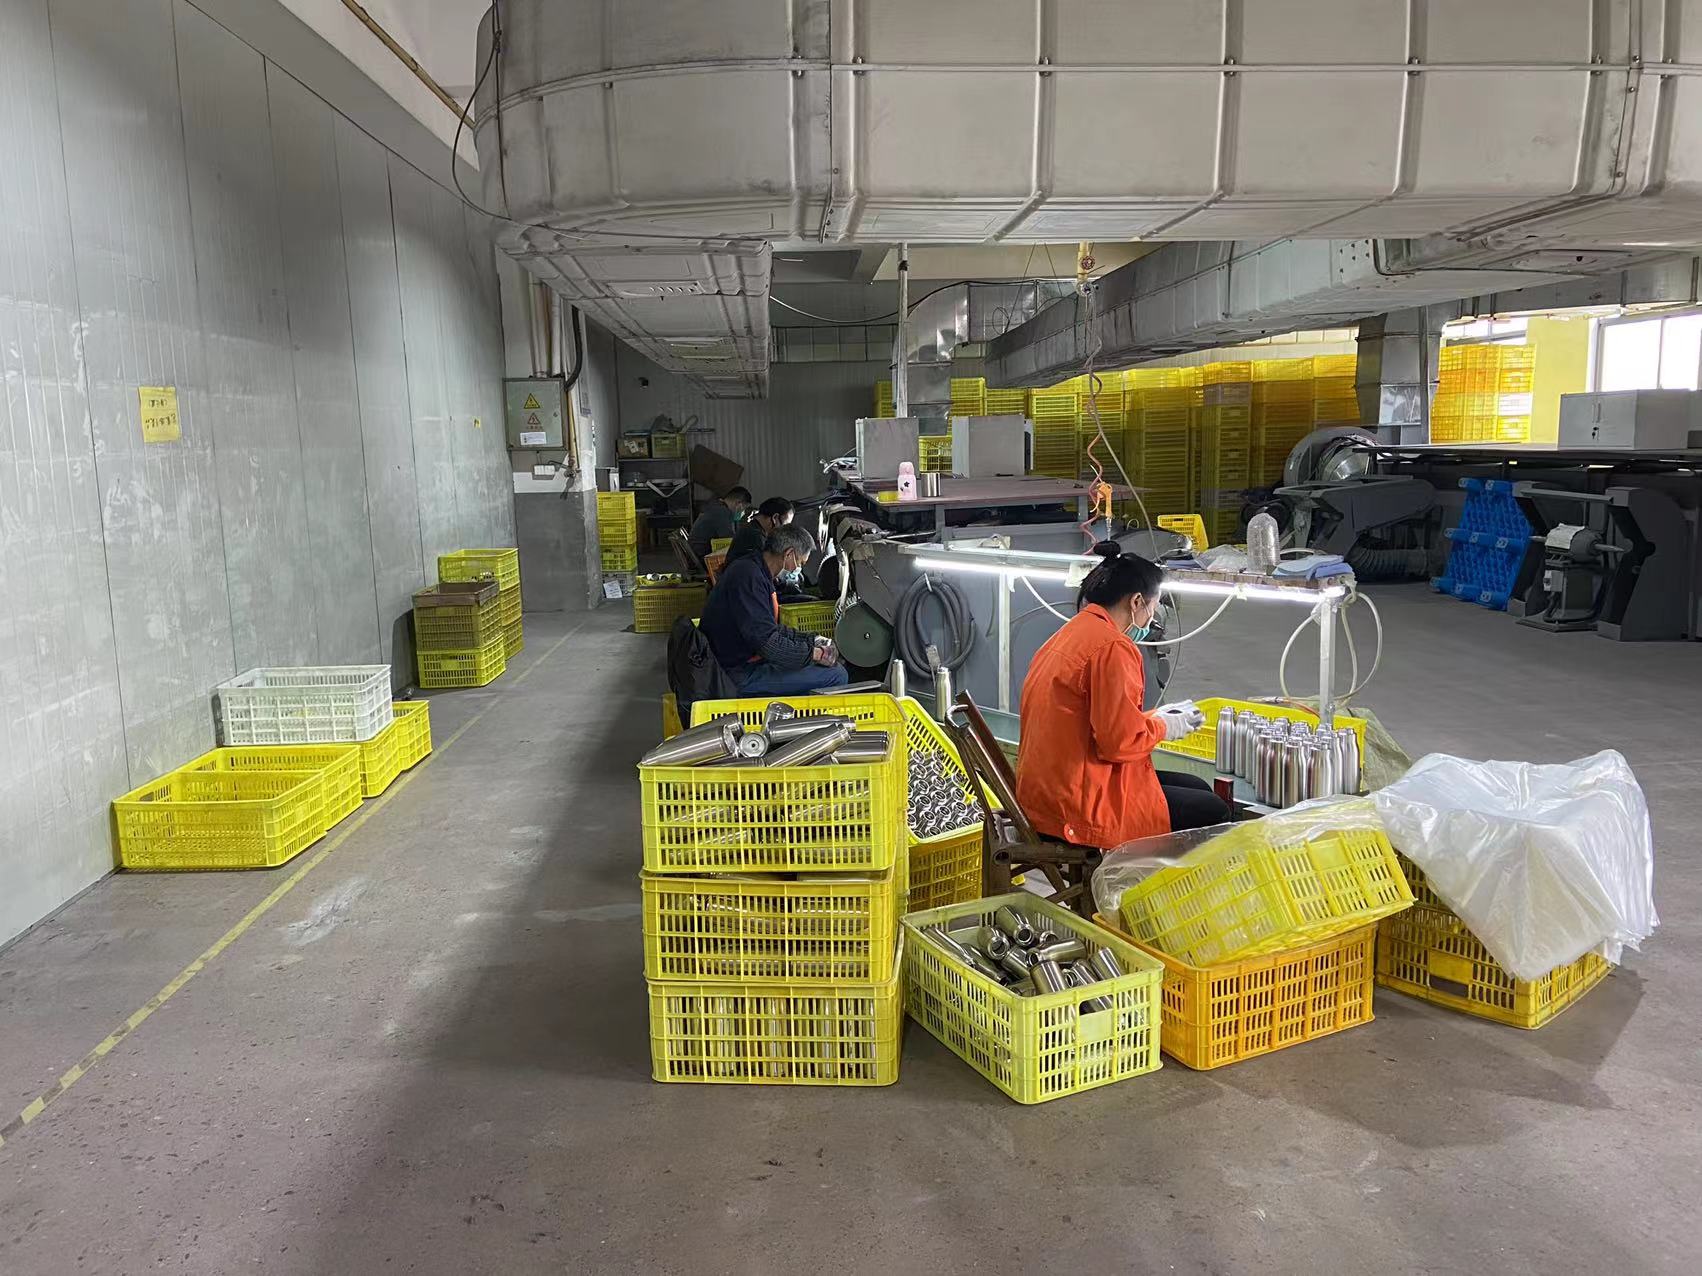
6. Mechanical Polishing
Polish the surface of the outer bottle to ensure that the mouth of the bottle is smooth and shiny. There must be no obvious wire drawing, scratching, black wire, and pits.
7. Temperature Test / Insulation Test
Blow hot air into each bottle. If the outside of the bottle is kept cool, it means that the heat from the hot air will not be diverted and the bottle is vacuum insulated. On the contrary, if the bottle gets hot, there is a problem with vacuum insulation.
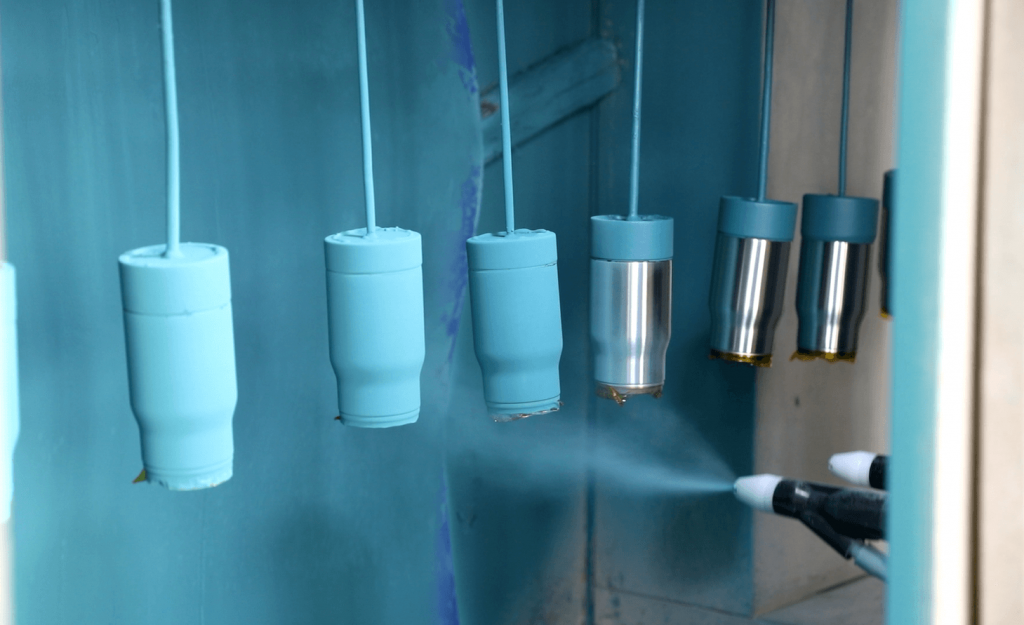
8. External Coating
The bottle is now ready for external coating – powder coating or spray painting. Kingvac is capable of doing both spray painting and powder coating processes.
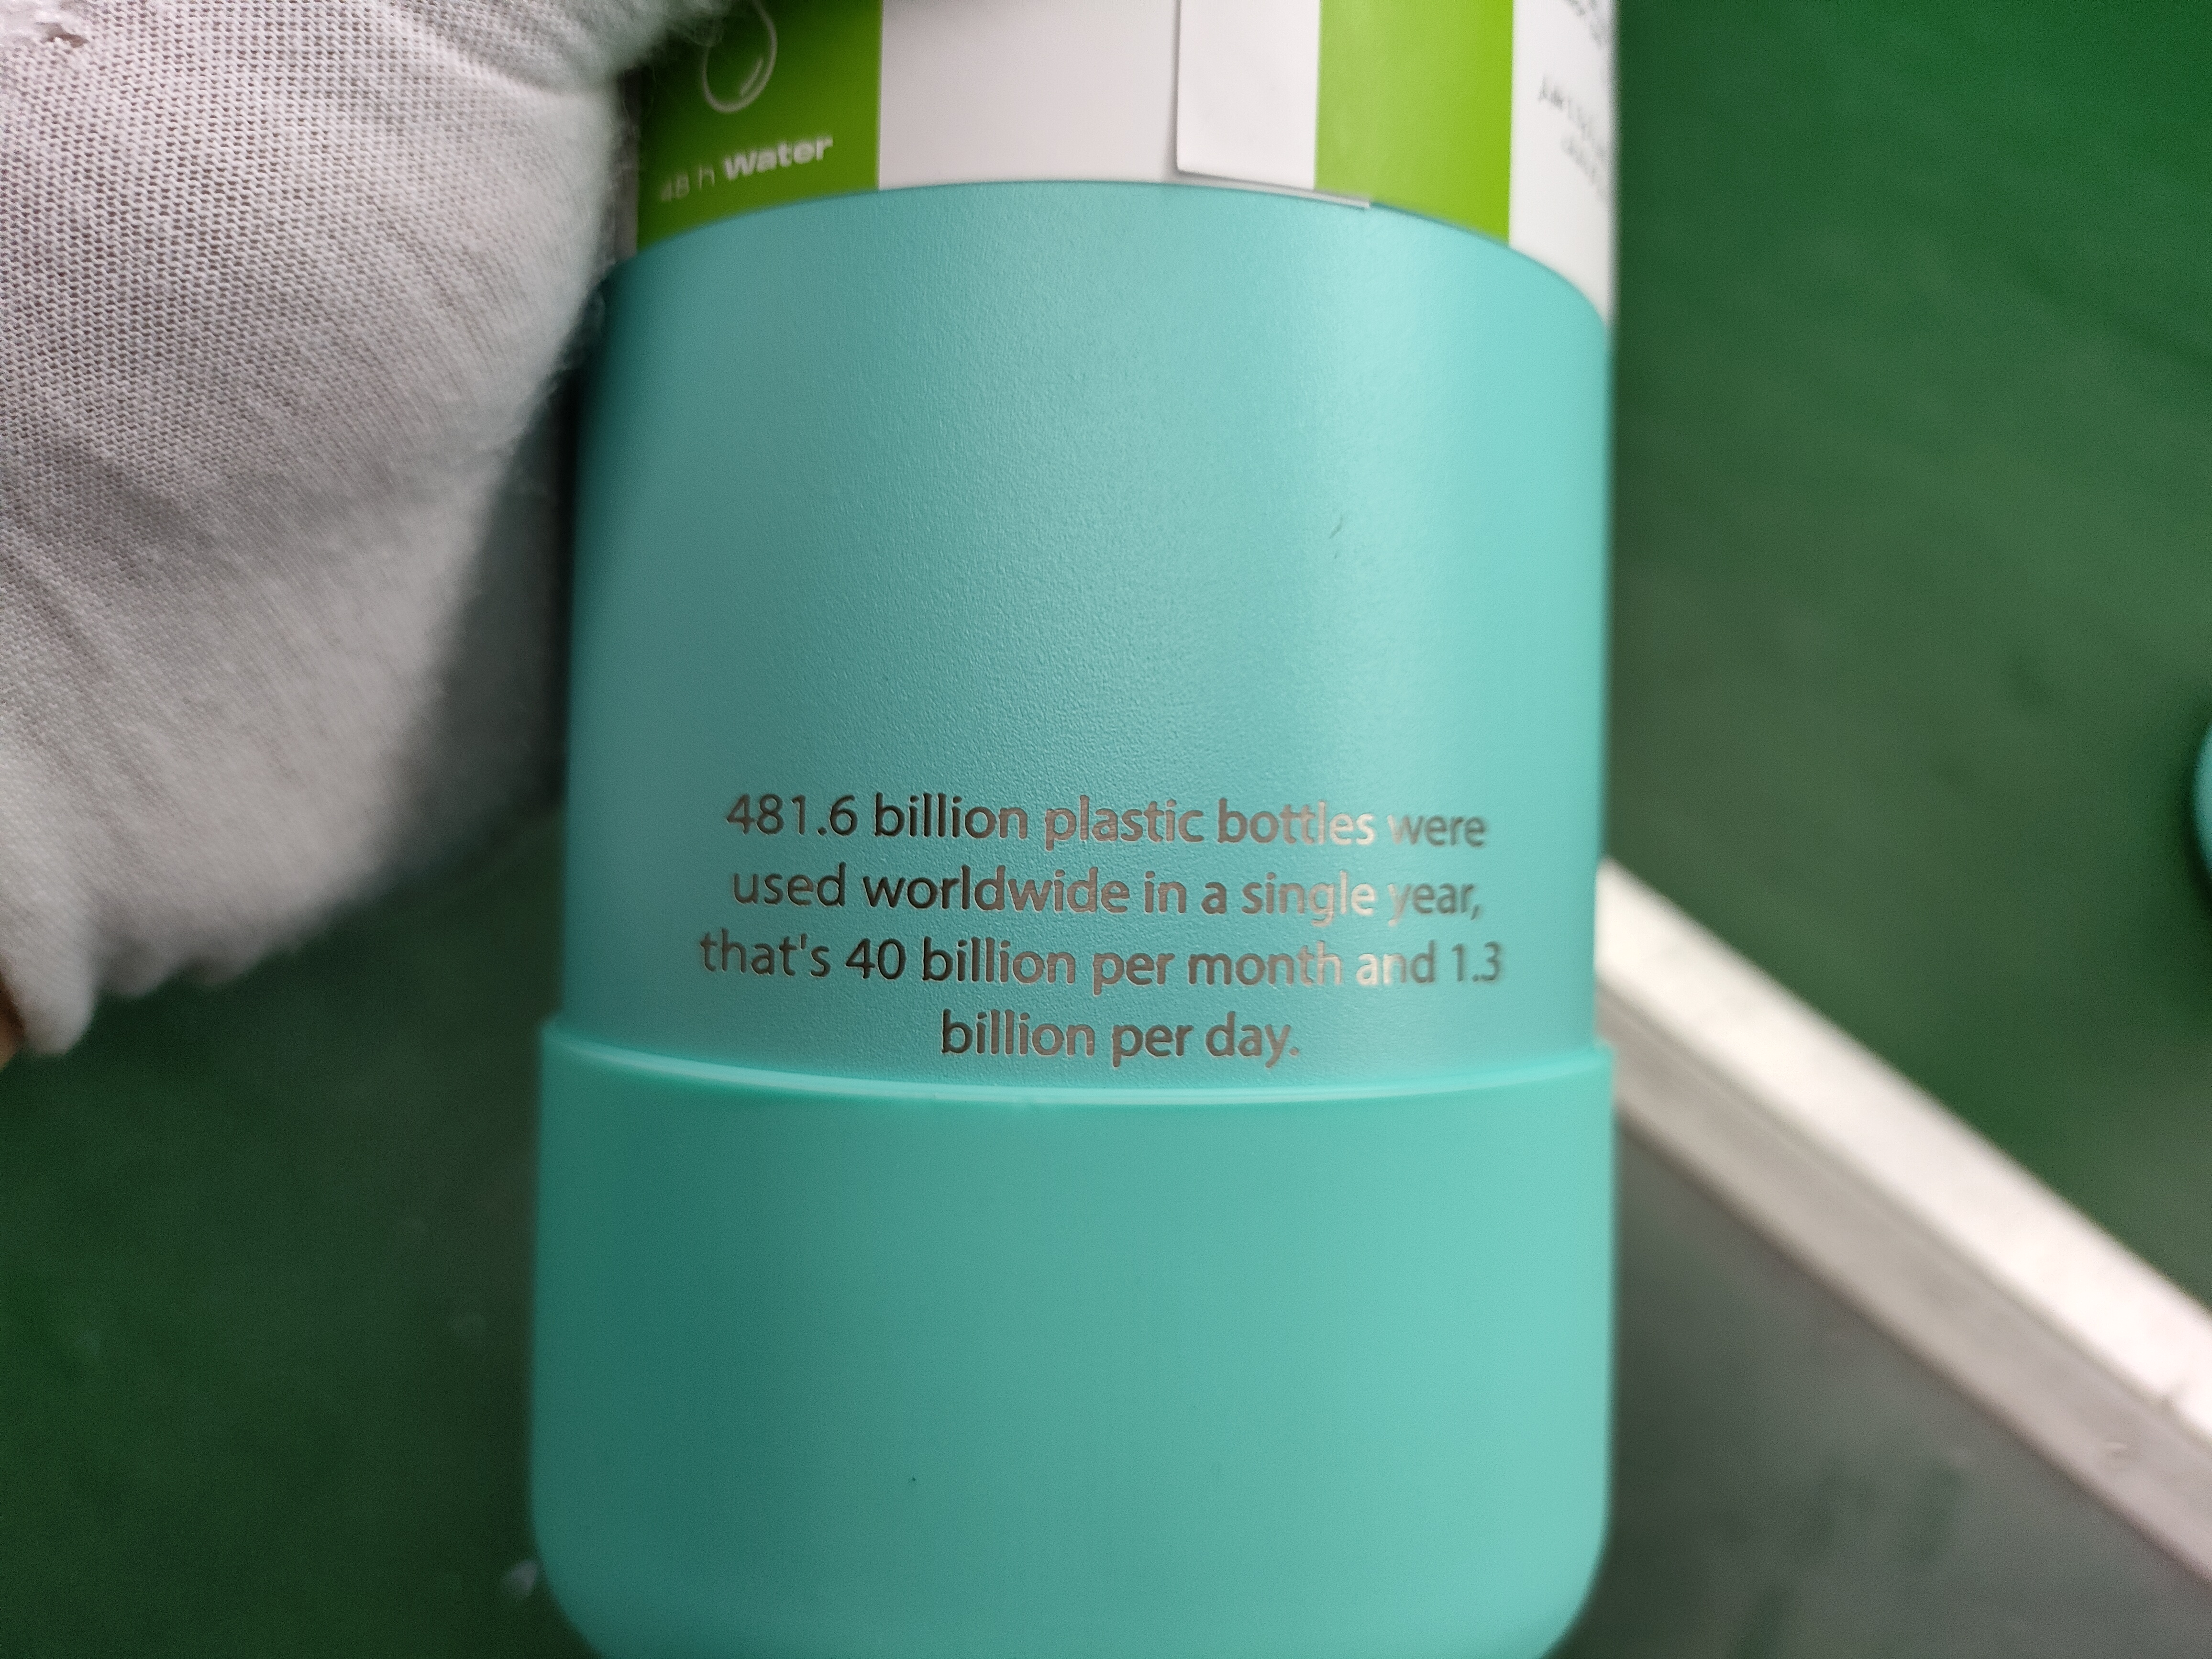
8. Pattern And Logo Printing
Print the pattern design and logo on the bottle with various techniques – screen printing, thermal transfer printing, water transfer printing, laser etching, and so on.
9. Packing
After inspecting each bottle, including visual inspection and lid leak test, the bottle is placed in a separate bag for packaging.
Get the latest price? We'll respond as soon as possible(within 12 hours)


